Learn all the tips and tricks behind running a successful floristry business. Practical flower arranging tips, flower care tricks and all the business info you need to run a profitable Flower business.
Creating a 100% Compostable Centrepiece from Bamboo.
Made to highlight the beauty, elegance and versatility of Bamboo, essentially a pest plant here on my property, I wanted to show how this underutilised material could be used to reimagine the traditional centrepiece.
Getting creative in the studio - 100% compostable centrepiece.
I’ve been playing in the studio over the quiet season and wanted to share with you one of the designs that came out of it.
You may have already seen it on the Front Cover of the latest issue of Flowers Magazine (so exciting). Inspired by one of my first podcast episodes on Foam Free floristry and in an effort to create something new and exciting that is more environmentally friendly.
Made also to highlight the beauty, elegance and versatility of Bamboo, essentially a pest plant here on my property, I wanted to show how this underutilised material could be used to reimagine the traditional centrepiece.
The “vessel” has been created using a series of Bamboo tubes, that have been waxed to make waterproof, and held together by a little picket fence of smaller bamboo pieces. All flowers are sourced from my garden and the design is 100% compostable, no glue, no wire or no foam.
I think it worked out really well. I am working on a few different centrepiece ideas for my clients over the coming Wedding Season, so keep an eye out on Instagram for some different designs.
All new Flower Arranging Starter Kits are now available
It's time to start playing with flowers and our custom Flower Arranging Starter Kit has everything you need to get going. Kit includes all tools, instructions and check out this blog for a quick video on how to use.
Now is the perfect time to start playing with flowers. We’ve always known that creating with flowers is soothing for the soul and now we’ve made it easier for everyone to get on board and give it a go. No longer do you have to trudge to various shops to get snips, tapes, bowls and wire, cause we’ve packaged it all up in one gorgeous little gift box.
Our flower arranging kit is filled with all our favourites to get you started in the world of flowers.
Kit contains
1x Ceramic bowl handmade by Karen Charlebois of Clay Design Cairns.
1x Rysett Australia Snips (my all time favourite everyday snips)
1x Stayput Australian made stainless steel Kenzan
1x Small piece of chicken wire
1x Pot tape
1x Floral Stick
Our Flower Play Flower Arranging Starter Kit is presented in a gorgeous box and is the perfect gift for the flower lover in your life or a wonderful treat for yourself.
Check out our video below, demonstrating how simple it is to create a unique and elegant flower arrangement at home.
DIY Flower Arrangement Kit. Flower arranging kit
How to make our awesome Bud Vase Carrier...
Our DIY instructions on how to make your very own AWESOME BUD VASE CARRIER..
Sick of your bud vases falling over during transport, and your flowers and water going everywhere! Yep, we hear you. I was so annoyed that I made my own carrier and below I share how I made it.
Download the instructions - How to make our awesome Bud Vase Carrier.
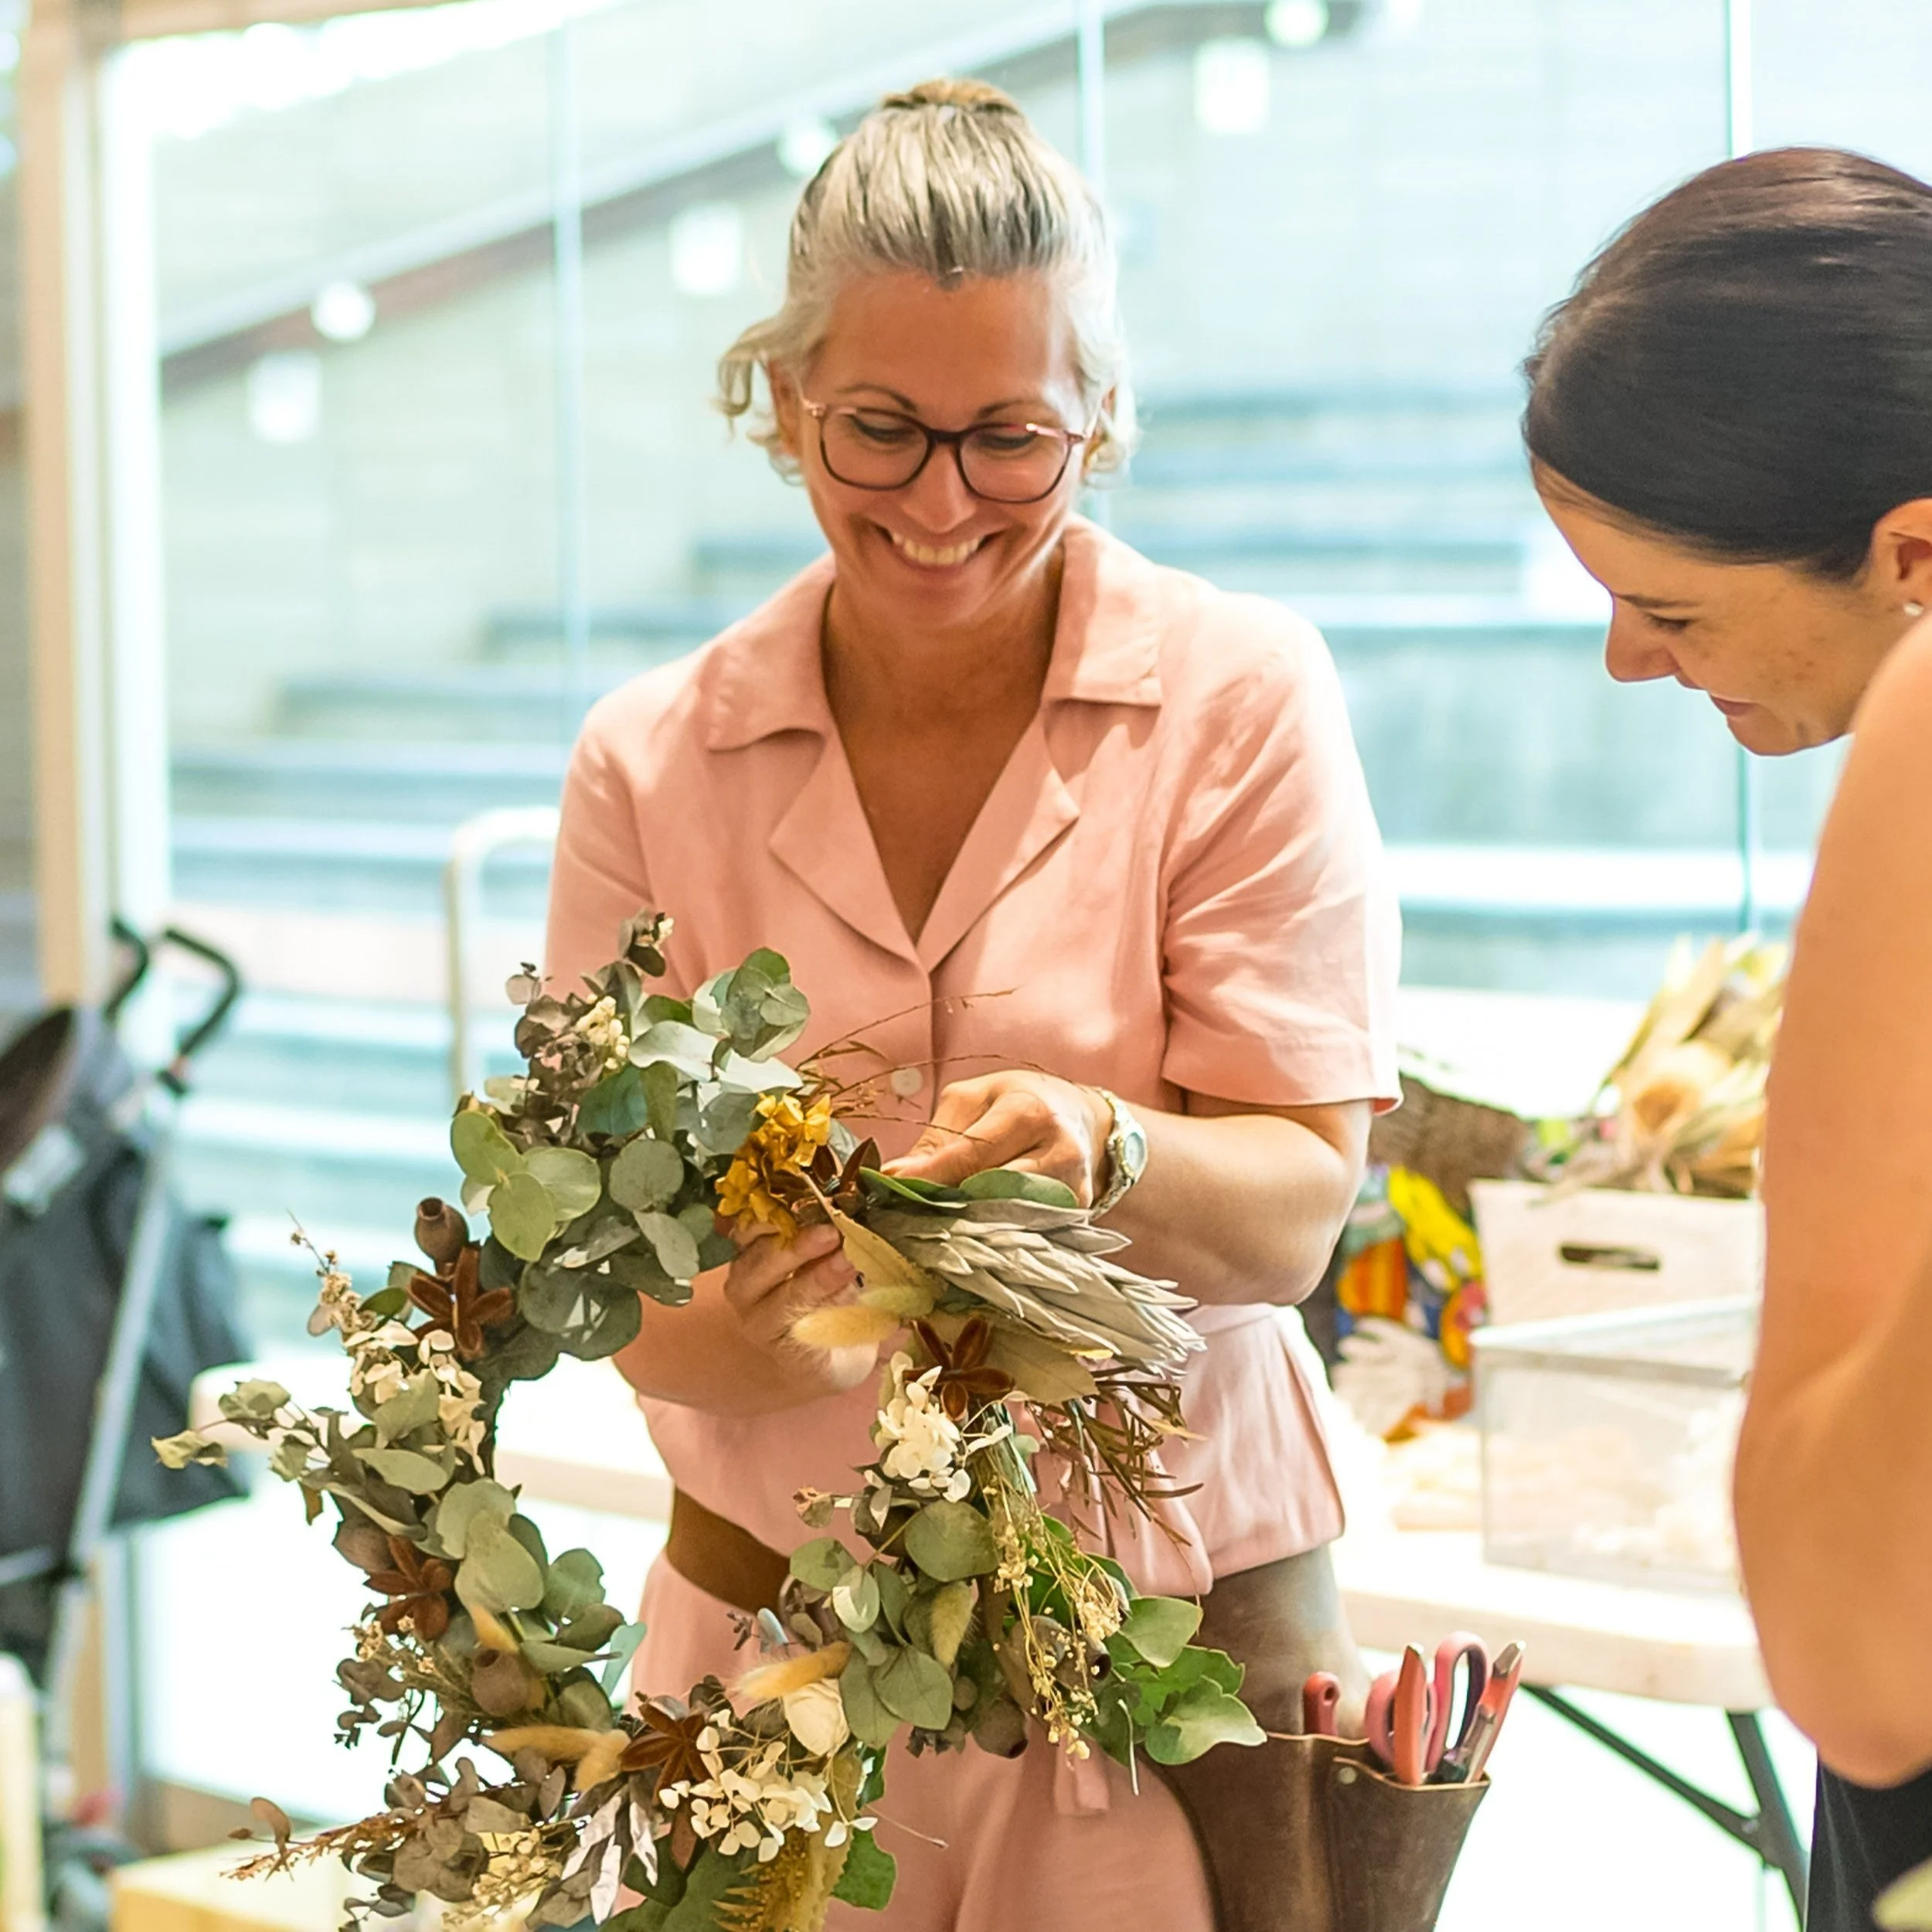
How to make a sustainable wreath base.
Our simple steps to creating a Sustainable Wreath Base that can be used for Fresh or Dried Flowers.
I have been thinking a lot recently about my use of floral foam and how I can alter my current designs and practices to use much less of it. It is a wonderful tool for allowing us to arrange in really cool ways, however it is a single use plastic and that’s really BAD. So I think it is important for all floral designers, either pro or just for fun, to start experimenting and looking at alternates to using foam.
With Anzac day on Thursday I am seeing a lot of traditional wreaths on my socials, so for my first experiment I decided to play with the wreath base. Oh and sorry, I didn’t actually make an Anzac wreath, I was going to start there however it evolved into something entirely different. I also just want to add, that I believe the most appropriate Anzac tribute is the classic Laurel Wreath, yes controversial I know and I will get into that another time perhaps.
What you need to make a sustainable wreath base
- Chicken Wire
- Sphagnam Moss or Floral Wool (sometimes called rock wool or agrawool)
- Florist wire for binding together
How to create your Sustainable Wreath Base.
Cut a long thing length of Chicken Wire long enough for the diameter wreath you’d like and wide enough to ensure you have enough filling. Mine was approx 60cm long by 20cm wide.
Place a layer of Moss or Wool along the middle of the entire length, ensuring when you roll it up that it is “fat” enough for your finished design.
Roll up the chicken wire and Moss/Wool like a giant sausage roll, ensuring there is a small overlap of the two sides of the chicken wire, this is where you stitch the two sides together with some florist wire.
Now you have a long thing “sausage” of moss/wool. Begin to shape this into a traditional round wreath by gently manipulating the sausage into shape. At this point you can create any shape you want really, teardrop, hearts all work very well.
When you are happy with the shape you need to join the ends together to complete. To do this, squish up one end of the chicken wire and open up the other so that it will slide over the squished end. Push together until you have a good solid join and no gaps. Stitch together using some florist wire.
Now you have a sustainable wreath base that you can add some flowers to… Have fun!
Tip- if using the floral wool like I did, sometimes it’s difficult to poke softer stems through the material, so poke a hole through the material with a wooden skewer prior to inserting the stem.
To help you out, I recorded this little video as sometimes its much easier to learn by watching rather than reading the steps.
How to make a sustainable wreath base
Flower Food, what is it and do I need to use it?
How to make your own flower food at home.
What is that little sachet of white powder that comes with my cut flowers? Do I need to use it and and can I make my own?
Where ever you purchase your flowers from either your local florist, supermarket or corner store, you will usually also receive a little sachet of white powder. This is a commercially made flower food.
Do you need to use Flower Food, well typically YES.
Flower food is a mix of sugars, acidifiers and germicides and it has been specifically created to supply your cut flower with the energy it requires to fully open and remain nice for as long as possible.
Once a flower is cut from the plant, it will start to die, as it has been removed from its source of food that is supplied along the xylem vessels from the roots through the stem to the flower head. The idea with flower food is that it will help nourish the flower bud to help it open and bloom, as it would if it was on the plant.
I heard that I should add Sugar to my vase water, that will do the same thing….
Well not really. Adding sugar won’t really achieve much. This is because the flower can’t absorb the sugar in it’s natural state, so you need to add an acidifier. Also sugar will breed bacteria super fast, so you also need to add a germicide.
How to make your own Flower Food at home
You will need:
Some Sugar - just clean, white granulated sugar
An Acidifier - Vinegar or Citric Acid
A Germicide - Chlorine or Bleach
our tried and tested Flower Food Recipe
1/4 Teaspoon Bleach
2 Teaspoons Sugar
1 Teaspoon Vinegar
Mix together with 1 litre of Fresh, Clean Water, add to Vase and enjoy beautiful fresh flowers all week long….